Microsoft Excel is a real powerhouse—there’s so much you can do with it, including automating boring data entry. If you’re wondering how to autofill dates in Excel, either sequentially or non-sequentially, did you know that you can do this natively within the software? There’s no need for third-party tools.
But if you have a large volume of unorganized dates with no clear order, Excel’s autofill feature might fall short. In these instances, a third-party tool (like Magical) can help.
Here, we’re going to explore different scenarios for auto date in Excel. We’ll walk you through how to use Excel’s autofill, and tell when you need to consider another solution.
A quick note on Excel’s Fill Handle
Before we get to the practical stuff, we just wanted to bring you up to speed with Excel’s Fill Handle. Fill Handle is a built-in autofill feature that lets you automatically complete a row or column of data, provided it follows a pattern that Excel can understand.
Fill Handle is the little box here:
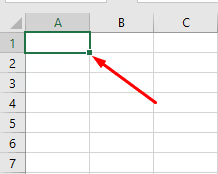
And you can drag it along a row or column to automatically fill the list. We’ll take a closer look at what Fill Handle can do in the next section.
How to autofill dates in Excel in different scenarios
Scenario 1: Autofilling sequential dates
Just so we’re on the same page, sequential dates are ones that change in a defined sequence, like:
10/05/17…10/06/17…10/07,17… etc.
Excel’s Fill Handle is configured to autofill dates sequentially by default. So, if you just put one date in:
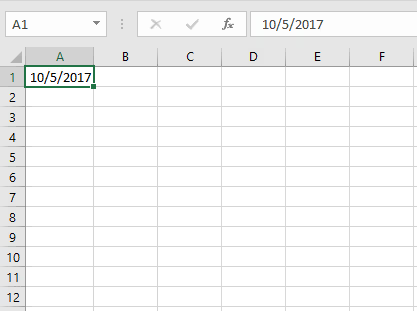
And drag Fill Handle either vertically or horizontally, for as many entries as you need…
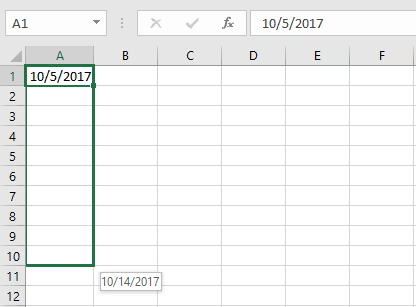
It’ll automatically fill your list in with sequential dates…
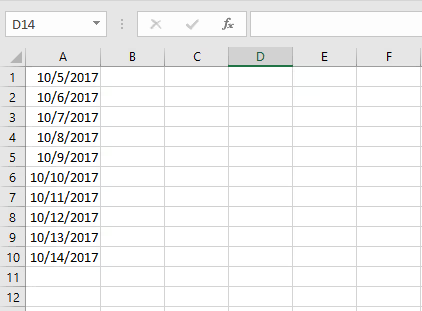
These dates are in the MM/DD/YY format, by the way. Fill Handle goes by the default date format on your system.
Scenario 2: Autofilling sequentially over fixed intervals
Sometimes, your list might not increase by one day—it could be, say, four days instead. That means you’ll go from 10/05/2017 to 10/09/2017, and so on. There are a couple of easy ways to autofill your list this way.
Method 1: The drag-and-drop way
This method is very similar to the one we used in the previous section, except this time, we’ll input two dates instead of one. Start by plugging your dates into two separate cells:
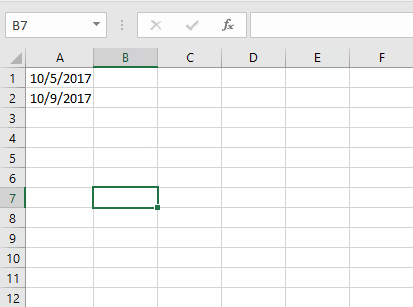
Then, select both cells. You can do this by selecting the first cell, pressing shift, and then selecting the second cell, too:
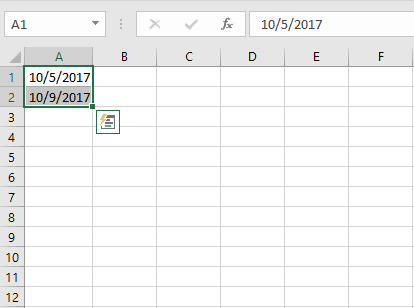
Now, proceed to drag Fill Handle down:
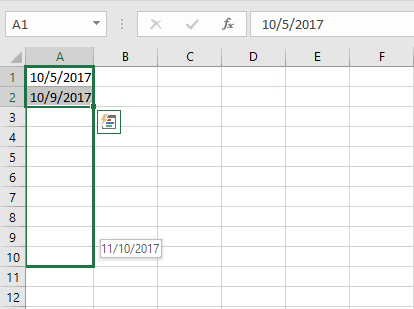
And you’re all set:
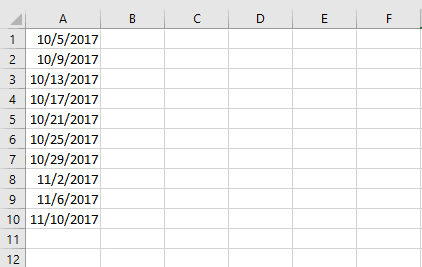
It’s that easy.
Method 2: Using Series Fill
In this method, start by inputting the starting date:
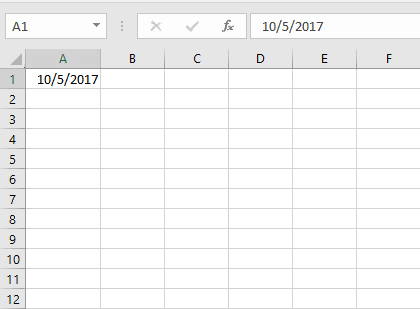
Now, select the cell with the date:
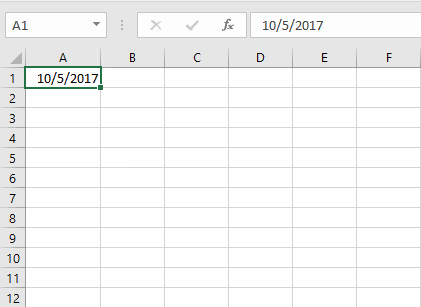
Press “Shift,” and choose how many rows you want to fill:
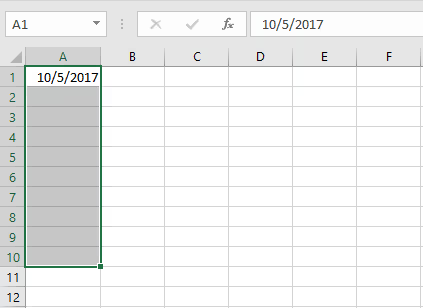
Now, in the top right corner of the toolbar, select “Fill”:

Then, click “Series”:
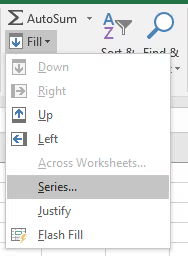
And this popup should appear:

The step value lets you define the sequence. So, for example, if your dates are 10/05/2017, 10/09/2017, 10/13/2017, etc., the step value is 4. Plug 4 into the box and press “OK.” Then, watch as the rows fill themselves…
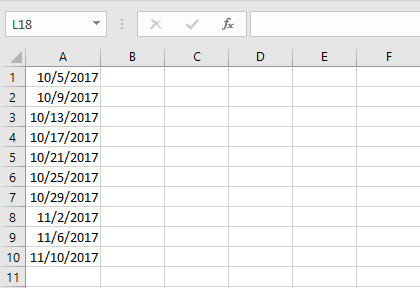
How to autofill in Excel without dragging
In method 2 above, we showed you how to autofill rows without dragging, but there are a few other examples we can demonstrate.
Example 1: Autofilling weekdays
If you want to autofill weekdays exclusively, Excel’s “Fill” option has a setting for that. As in the previous section, start by entering one date, pressing “Shift,” and selecting the final column that you want to fill in:

Now, navigate to the top right-hand corner of the toolbar, and select “Fill”:

Then click “Series”:

Select “Weekday” as the setting:
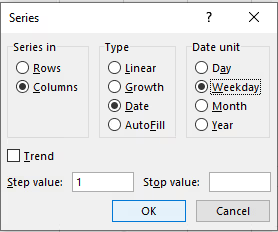
Now, when you press “OK,” the dates will be filled in for weekdays only:

Example 2: Autofilling alternative months
In this example, we’re considering the first of every alternate month. Our first entry is 1 October 2017. So, we start by entering the date in the first cell, and use “Shift” and our mouse to select the cells we’re autofilling:
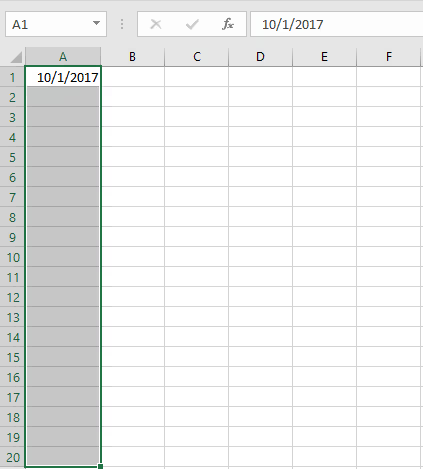
Now, as we did earlier, head on over to the toolbar and select “Fill > Series”. The pop-up will appear again. Select “Month” and input the stop value as 2:
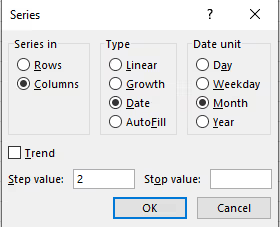
Now, press “OK” and watch your cells fill in automatically:
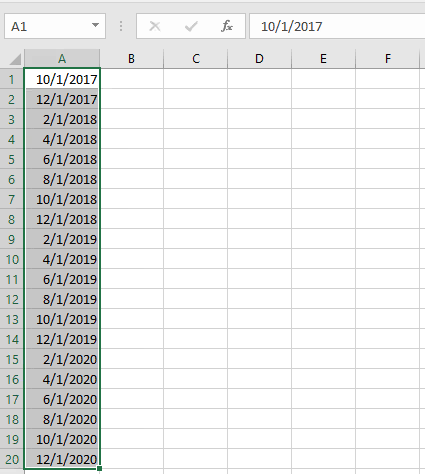
Pretty satisfying, right? You can adjust these fields and the step size to get different results, depending on the sequence you need.
How to autofill non-sequential dates in Excel—the Magical way
At times, you might need to automatically fill dates that don’t follow a particular sequence. Maybe they’re your customers’ birthdays (planning to send them personalized happy birthday messages?), or public holiday dates that you need to track for campaigns.
Excel’s built-in features aren’t much help here, unfortunately. They need a particular pattern to follow. But Magical doesn’t. You can use the free Magical Chrome extension to automatically fill dates into Excel.
Here’s how.
Step 1: Install the free Magical Chrome extension
This part only takes a second—add Magical in one click here.
Step 2: Open your “target” tab—or tabs
This is the tab, or tabs, where you want to copy the dates from. For example, if you collected your customers’ dates of birth using a form, the form’s output (e.g. an Excel Sheet) will be the “target tab.”
Step 3: Open your “destination” tab
This is the tab where you want to copy the data to. In the example we mentioned above, this might be your CRM or email marketing tool. You can add the dates to the automation software and set up automated, personalized birthday messages for customers.
Step 4: Use Magical’s Transfers feature
Now, you can use Magical’s Transfers feature to teleport the dates across your open tabs. Just open the Magical extension and click Transfers:
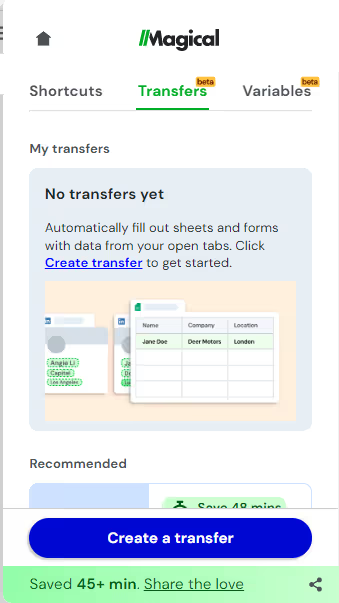
Then, Click “Create a transfer” and choose your target and destination tabs:

Next, click “Add variables to source” and select one of the dates from your sheet, so Magical knows which variables to extract. Then, go to your CRM and type “//” in the place you want to copy the data.
Step 5: Enjoy the results
You’re all set!
P.S. Magical is also great for auto-filling Google Sheets.
Ready to start saving time?
Spreadsheets are just one of those things that we can’t seem to escape. But hey, they serve their purpose really well—they’re excellent for storing, organizing, and visualizing important data. But the manual data entry part gets boring pretty fast.
Fortunately, built-in autofill features help you save time (and escape boredom). These features are great for automatically entering sequential data, or data with a clear pattern, but Excel’s autofill falls short for random data.
And that’s where Magical is an excellent alternative. Get started today by adding it to Chrome for free.


.webp)

